TL;DR
https://github.com/wojtczyk/game-art-generator
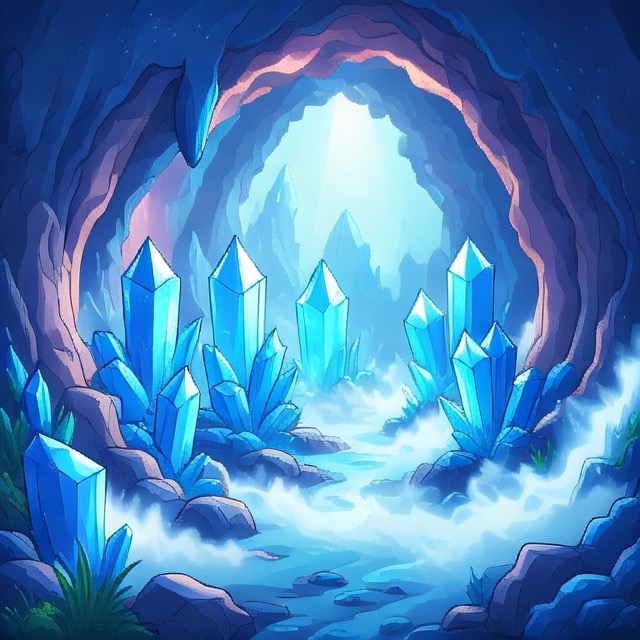
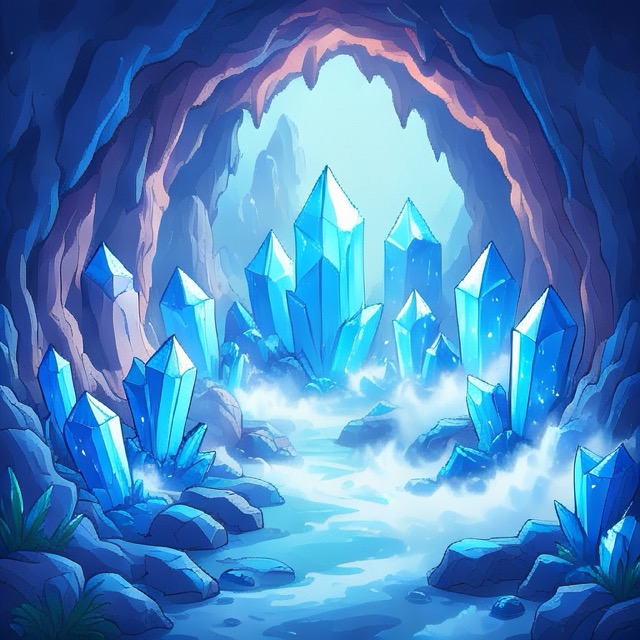
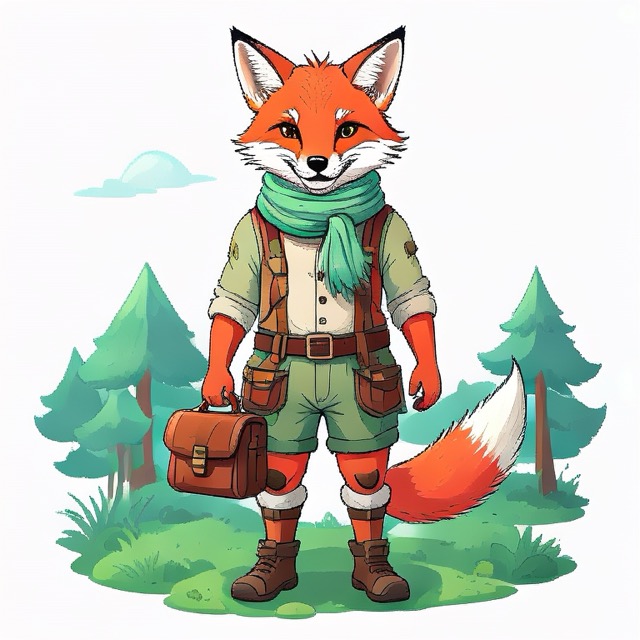
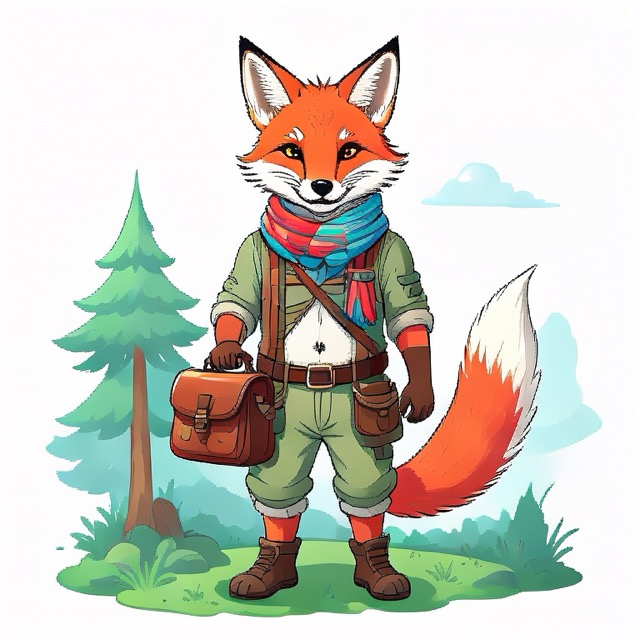
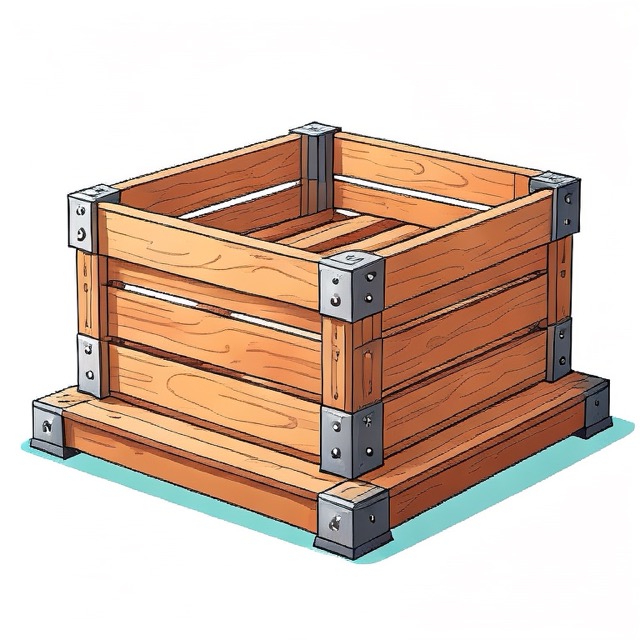
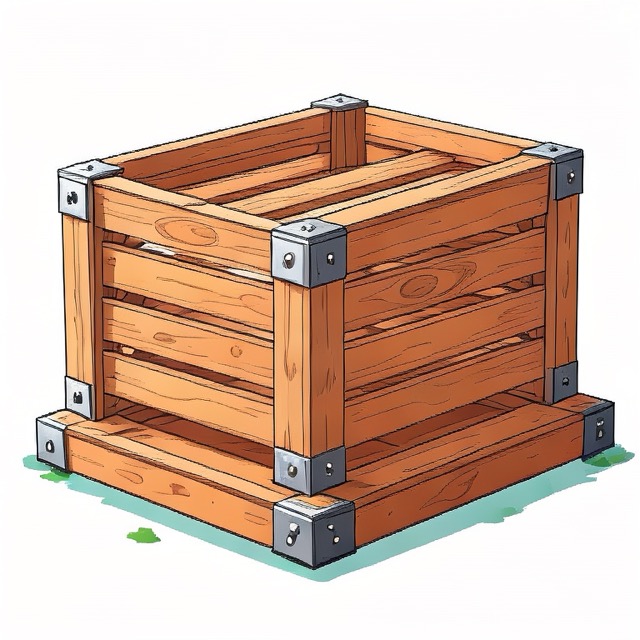
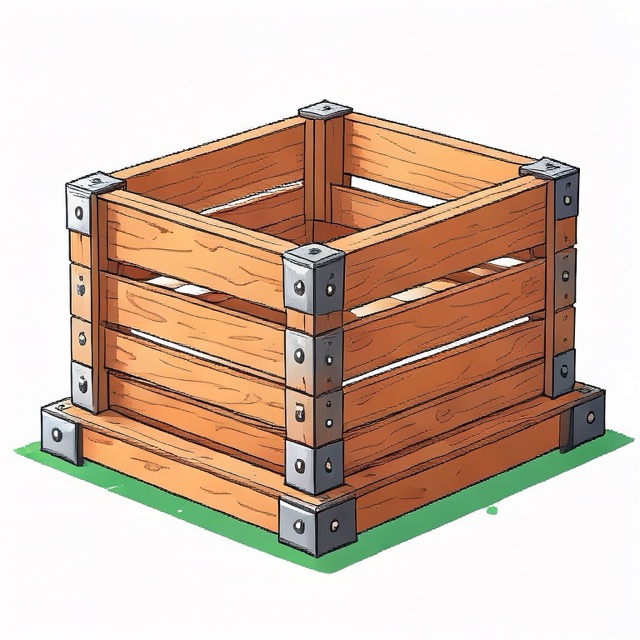
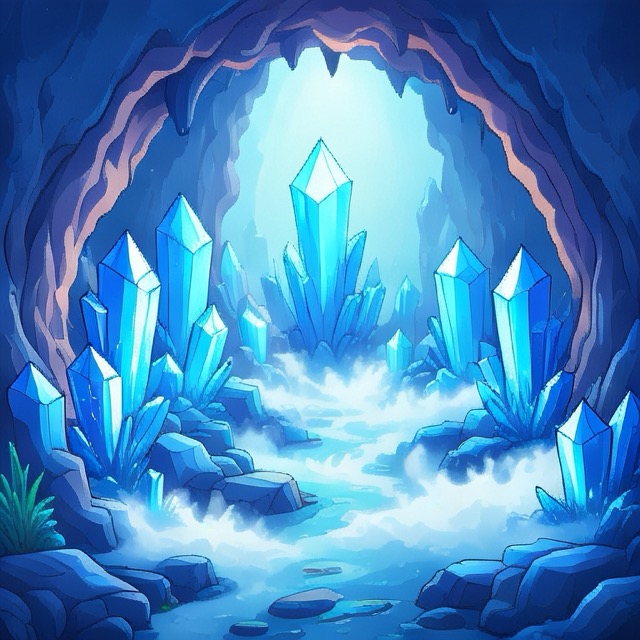
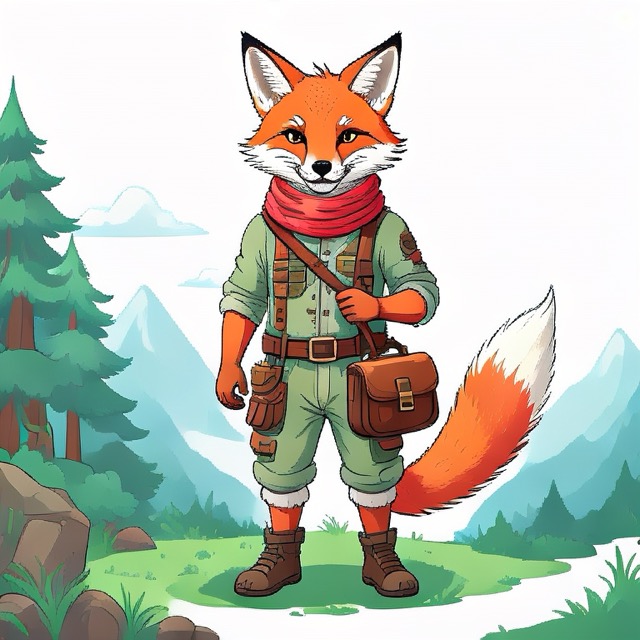
Sample images created in one go by scripting Image Playground.
Introduction
I like agentic coding. All you need is an idea… and some technical understanding to course-correct, when the agent wanders off. I have never been short on ideas, but rather short on time to implement and execute on every one of those.
When I was ~14, we got our first computer – an IBM PC compatible with VGA graphics running MS-DOS. We had three games: a racing game, a point and click adventure, and I forgot what the third was. Maybe we had just two. Anyways, I enjoyed playing them. I got good at playing them. I wonder if my parents worried that I played too much.
However after a while I was really curious how games are made and I wanted to make my own. This is what got me into programming. My older brother had a programming class at school in Turbo Pascal. I wanted to learn from him everything he learned. I made my first game and sold one copy to a friend for 1 Deutsche Mark. Mission accomplished.
In the meantime I went to college, studied computer science, worked on sensor guided and ML enabled robots for most of my professional life and here I am on a Friday evening with a ChatGPT Plus subscription for $20 and a ten year old game idea popping back into my head. “Well, you better do it – now”.
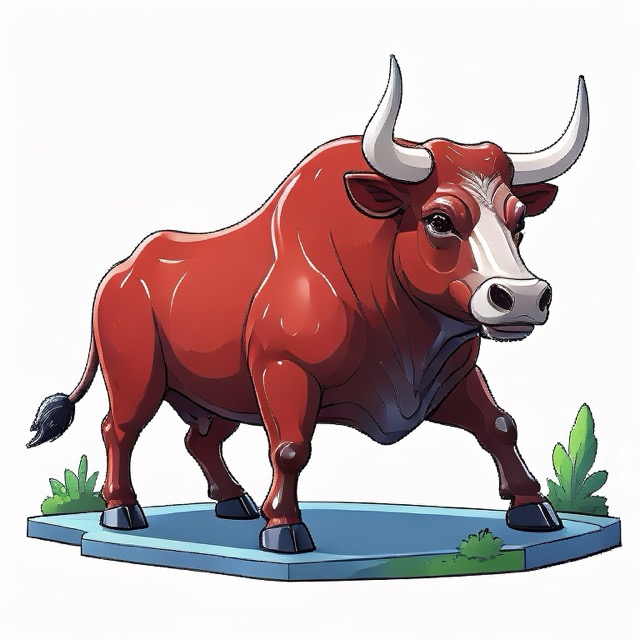
Within two hours I had a playable prototype on my iPhone. I was pumped. Only the graphics looked… lousy. Codex created a python script, that used Pillow to draw lines into a canvas and save PNGs. “If it creates line art, then have it at least create SVGs”… so shortly after it had SVGs. Still – I felt many of the assets were too abstract and it burned tokens too fast without the results that I wanted. Here for example is the image of a Bull.

I should add: you can add skills or plugins to Codex for image creation. It suggested the Canva plugin and the HuggingFace plugin with an image creation model. But it required to create accounts and add credit cards and I didn’t feel like it.
The next Friday evening – it sounds much worse than it is: having a Friday evening with no plans is wonderful. The next Friday evening I wanted to get back to the game. I recalled my mac has this Image Playground. What if I prompt it to create the game art I need. A few minutes in, I had an illustrated Bull, that looked neat, but had background clutter…
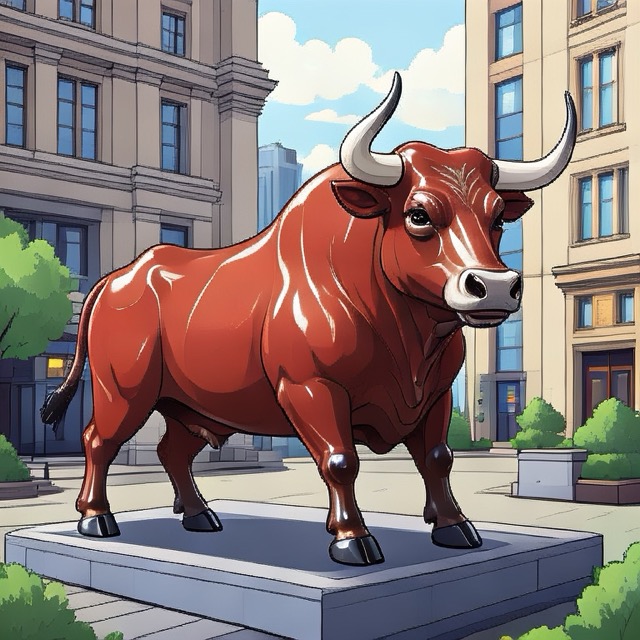
…a few minutes later it was on a white background – easy to cut out as a sprite.
Problem Statement
Great – I could use my M1 MacBook with Apple Intelligence and local models to create the game assets I needed for free without burning tokens. The only issue was: at the current stage of the game prototype I already needed 41 game art pieces and I didn’t feel like clicking around and entering the prompts and exporting the images manually. And I knew, there were more to come.
I needed a solution that scales. I went to sleep and woke up thinking about writing an angry blog post that Image Playground should be scriptable. Then I thought: “Check first, if it is scriptable!” – An online search was negative on Apple Script but positive on an Image Playground API. https://developer.apple.com/documentation/ImagePlayground/ImageCreator. “Oh nice! That saves me an angry blog post nobody would care about.”
The Journey
I wrote up a prompt for codex:
Implement a macos program that uses Image Playground ImageCreator https://developer.apple.com/documentation/ImagePlayground/ImageCreator to generate gameplay artwork. It shall take in as parameters...
Four minutes later with GPT-5.4 Extra High it appeared I had a Swift script that should create the assets, only that it turned out errors:
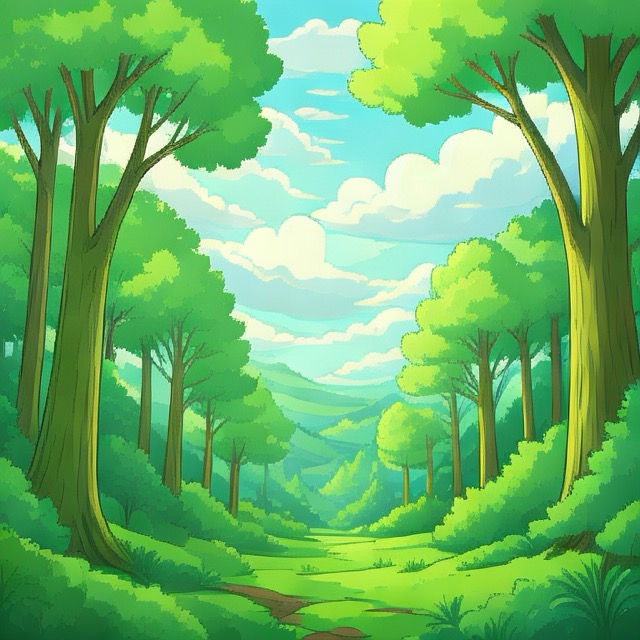
[1/9] Generating 3 image(s) for backgrounds/forest/day-sky
Image generation failed for backgrounds/forest/day-sky: Image creation is not available when the application is hidden or running in the background.
What followed was a bit back and forth of me executing and pasting the errors, then telling codex to do it itself, codex burning through 60% of my daily token allowance not getting anywhere until I stopped it. I did some research and instructed it to create an application window that gets pushed into the foreground to try to circumvent the issue. Codex changed the code, created a windowed app wrapper and off we go. Assets were created in batch as described in the prompt file and stored in the directory structure as needed. I felt accomplished. 🎉
.build/release/game-art-generator --assets assets/example.txt --style illustration --n 3
Writing artwork to /Users/martin/Projects/codex/game-art-generator/assets/2026-04-19_11.39_example-art-for-review
[1/9] Generating 3 image(s) for backgrounds/forest/day-sky
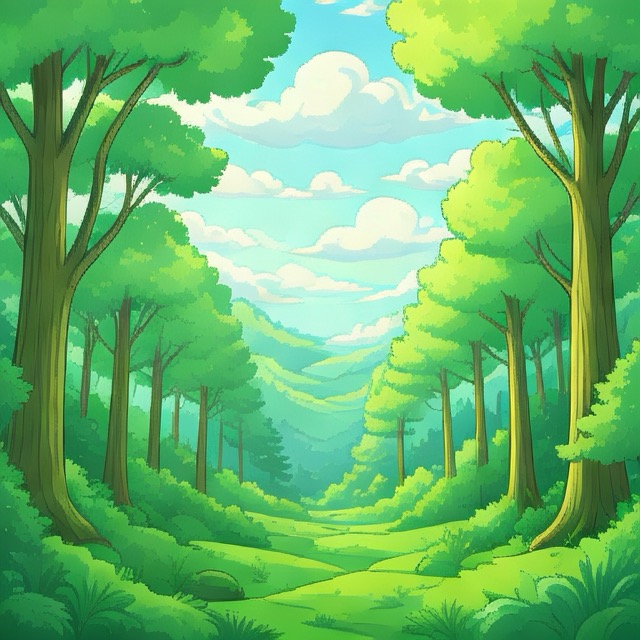
prompt: "bright forest canopy with soft clouds and layered parallax depth"
created /Users/martin/Projects/codex/game-art-generator/assets/2026-04-19_11.39_example-art-for-review/backgrounds/forest/day-sky-1.png
created /Users/martin/Projects/codex/game-art-generator/assets/2026-04-19_11.39_example-art-for-review/backgrounds/forest/day-sky-2.png
[...]
I was asked if I can turn this into a product. 🦄 “Maybe, but I don’t feel like it. I’d rather just put it on GitHub for others to use if they run into the same issue”. Enjoy!
Learnings
A prompt can give you a solution within 5 minutes. Then you still need an hour to refine the result. The most difficult part for scripting Image Playground was to realizing that the API needs a foreground window. Probably to justify loading the neural networks and occupying the CPU and GPU.
Overall I am happy with the results of Image Playground. At least happier than with the outputs of Codex. Sometimes you just have to look and you already have what you need and can throw your own compute at it.
The Game Art Generator
Below is the GitHub URL. Instructions on howto build and use it are in the README.md. Maybe it will help someone else out there to create their game or unblock them on their prototype.
https://github.com/wojtczyk/game-art-generator
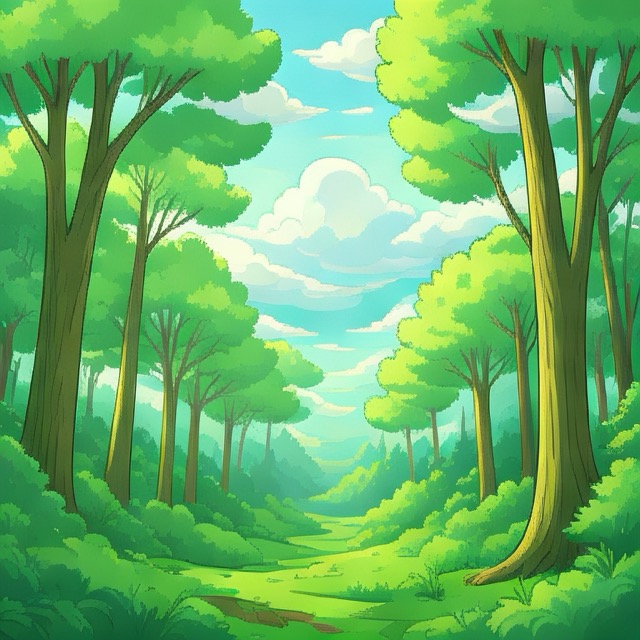
Some more image variations it created with the example assets file. Now I just need to adapt the prompts in one text file and hope for the best.